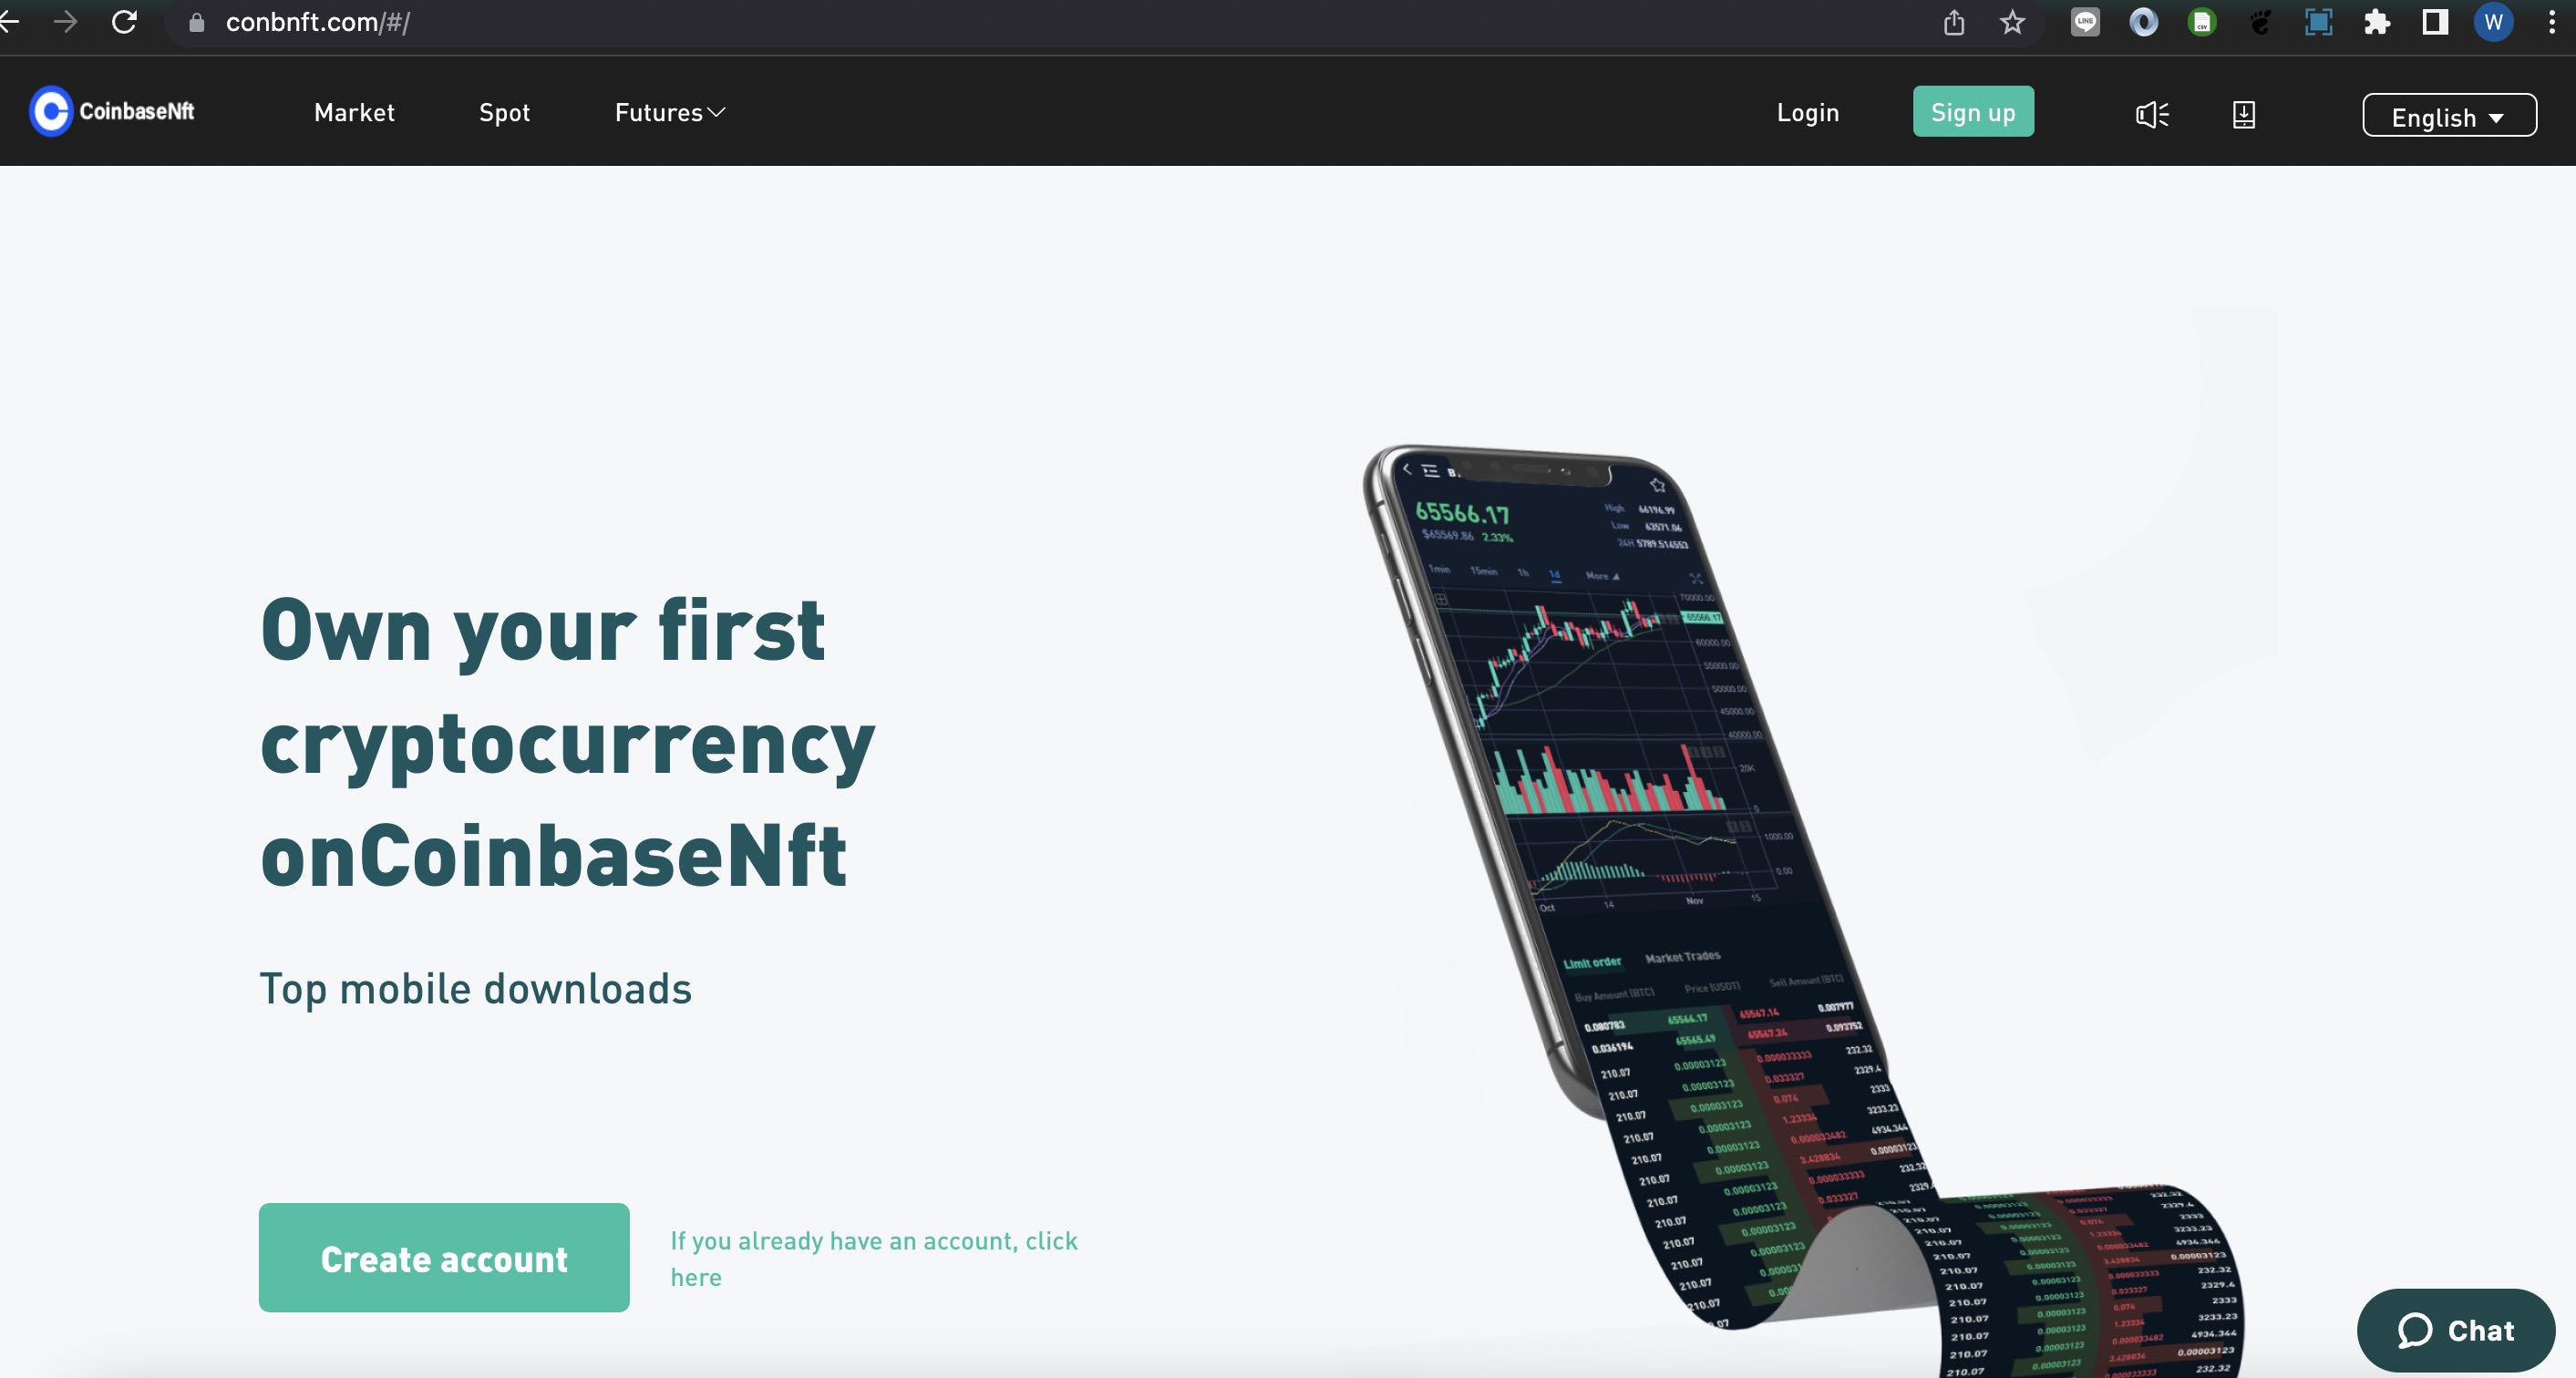
conbntf.com Scam Website. Please don’t put your money on this website.


My Note: help to remind me when i forgot :)

>useradd warawich
>groupadd sftponly
>usermod -G sftponly warawich
>usermod warawich -g sftponly -s /sbin/nologin
>passwd warawich
>cd /home/warawich
>mkdir .ssh
>cd .ssh && touch authorized_keys
Then change permission directory and file
>chmod 700 -R /home/warawich
>chmod 600 /home/warawich/.ssh/authorized_keys
Example: We want to limit access from 49.228.71.24 and 27.55.79.125 for user warawich and allows access from anywhere for other users
vim /etc/ssh/sshd_config
UseDNS no
Subsystem sftp internal-sftp
    AllowUsers [email protected] [email protected] user1 user2
    Match Group sftponly
    ChrootDirectory /home
    ForceCommand internal-sftp
    PermitTunnel no
    AllowAgentForwarding no
    X11Forwarding no
    AllowTcpForwarding no
systemctl restart sshd
I use wordpress, nginx, mysql, php-fpm with minimun cost on DigitalOcean and found the memory leak problem. This cause MySQL stop working and my websit goes down.

I also found there are lots child processes of php-fpm. I thought I should consider to increase the memory (use 1 GB) or not. Anyway I don’t want to spent my money for my website as I’m person to check it out only one HaHa if you came across to read this. You are second.
These are I did for fix the memory issue.
Create swap file https://www.digitalocean.com/community/tutorials/how-to-add-swap-on-centos-7 I create 2GB swapfile because my memory has 1 GB . If you have memory more than 1 GB , you should multiply 1.5 of physical memory.
//Check Swap usage
swapon -s
//if no return message, it mean no swap

//create swap file
sudo dd if=/dev/zero of=/swapfile count=2096 bs=1MiB

//change permission read write only
sudo chmod 600 /swapfile

//make a swapfile
mkswap /swapfile

//enable swap
swapon /swapfile

//Check Swap usage again
swapon -s
//should return swap size
[root@ake warawich.com]# swapon -s
Filename Type Size Used Priority
/swapfile file 2097148 264 -2
Make the Swap File Permanent
vi /etc/fstab
/swapfile swap swap sw 0 0
Then reboot OS
Now, you have memory more but the root cause is php-fpm create lots of child process and consume your memory , so you need to limit php-fpm create child process too.
vim /etc/php-fpm.d/www.conf
//change configure as below
pm = ondemand
pm.max_children = 20
pm.start_servers = 5
pm.process_idle_timeout = 10s
pm.max_requests = 100
save and restart php-fpm service
systemctl restart php-fpm
//check memory free
root@ake warawich.com]# free -m
total used free shared buff/cache available
Mem: 990 544 111 12 335 294
Swap: 2047 0 2047
All of these what i did! Please suguest me if what you think or what I miss. Thank you.
1. Install Google SDK on your computer Ref. https://cloud.google.com/sdk/docs/install
2. Login google account and gcloud project with command below
gcloud auth login

gcloud auth configure-docker
Create service account with google cloud storage role (read, write,admin)
Example login with JSON key
cat keyfile.json | docker login -u _json_key --password-stdin https://HOSTNAME
where HOSTNAME is gcr.io, us.gcr.io, eu.gcr.io, or asia.gcr.io.
cat box-in-the-box-7ab21e41seb57.json| docker login -u _json_key --password-stdin https://asia.gcr.io
3. Build image by use image path details as below
[HOSTNAME]/[PROJECT-ID]/[IMAGE]
Example
asia.gcr.io/box-in-the-box/core-social
4. Docker build , tag, push , pull
docker build -t asia.gcr.io/box-in-the-box/social:latest .
docker push asia.gcr.io/box-in-the-box/social:latest
docker pull asia.gcr.io/box-in-the-box/social:latest
5. Docker Compose example
version: '3'

services:
  box_core-social:
    container_name: social
    environment:
      - "NODE_ENV=${NODE_ENV}"
    #build:
    #  context: .
    #  dockerfile: Dockerfile-live
    image: asia.gcr.io/box-in-the-box/social
    ports:
      - "2000:3000"
    volumes:
      - "/opt/app/"
    restart: on-failure:5
sudo apt-get install postfixsudo yum install postfixsudo nano /etc/postfix/main.cfrelayhost = [smtp.gmail.com]:587smtp_sasl_auth_enable = yessmtp_sasl_security_options = noanonymoussmtp_sasl_password_maps = hash:/etc/postfix/sasl_passwdsasl_passwd in the /etc/postfix directory: sudo nano /etc/postfix/sasl_passwdsasl_passwd file, replacing [email protected] and password with your Gmail address and password: [smtp.gmail.com]:587 [email protected]:passwordsasl_passwd file, then run the following command to create a hashed version of the file: sudo postmap /etc/postfix/sasl_passwdsudo service postfix restartYou should now be able to use Gmail’s SMTP server to send emails through Postfix.
Line Notify ของเดิมทำง่ายมาก แต่พอเปลี่ยนมาเป็น Version ใหม่ (ให้ secure มากขึ้น) ก็ทำแบบเดิมไม่ได้แล้ว ยุ่งยาก โชคดีหาเจอ แต่ต้นฉบับเป็นภาษาจีน (แปลด้วย google เอานะ) tool ที่ใช้ทำมี ngrok, postman, line account